Food Storage

Member Submitted Recipes
Easy Homemade French Bread – (Kathy Davis)
2 cups warm water
1 Tbsp. dry yeast
2 ½ tsp. white sugar
5 cups flour
2 ½ tsp. salt
1 tsp. olive oil
-Combine water, yeast, and sugar. Let sit about 5 minutes.
-In a stand mixer/paddle attachment or a large mixing bowl, stir together 2 cups flour and salt.
-Stir in yeast mixture on low speed or by hand.
-Knead in ½ cup at a time remaining flour (3 cups) until the dough is smooth but not sticky. Add
more flour if needed.
-Divide dough in half. On a floured surface, roll out 2 rectangles or cylinders—about 15 inches,
lined with parchment.
-Place on baking sheet, side by side on pan.
-Make diagonal cuts across tops.
-Cover with soft cloth 30-60 minutes.
-Bake until tops are golden brown—brush with melted butter. Bake at 400 degrees 17-23
minutes.
Gluten-free Peanut Butter Cookies – (Eva Isaacson)
¾ c. gluten-free flour (I used Measure for Measure brand)
½ tsp. baking soda
¼ tsp. salt
¾ c. packed dark brown sugar
½ c. creamy peanut butter
1 large egg
2 Tbsp. unsalted butter, melted and cooled
1 Tbsp. honey
½ tsp. vanilla extract
THESE CAN ALSO BE MADE USING REGULAR FLOUR INSTEAD OF GLUTEN-FREE FLOUR.
- Adjust oven rack to middle position and heat oven to 350 degrees. Line rimmed baking
sheet with parchment paper. - In a medium bowl, whisk together flour, baking soda, and salt.
- In a large bowl, use rubber spatula to stir brown sugar, peanut butter, egg, melted butter, honey, and vanilla until combined.
- Add flour mixture to brown sugar mixture and use rubber spatula to stir until soft dough forms and no dry flour is visible.
- Use your hands to roll dough into 12 balls (about 2 TBSP. each). Place dough balls on parchment-lined baking sheet, leaving space between balls. Use your fingers to gently flatten each dough ball into 2-inch-wide circle.
- Place baking sheet in oven. Bake cookies until edges are just turning golden, 10 to 12 minutes. (Be careful not to overbake.)
- Remove baking sheet from oven. Place baking sheet on cooling rack and let cookies cool on baking sheet for 10 minutes.
- Use spatula to transfer cookies directly to cooling rack and let cookies cool completely, about 15 minutes.
Dried Apple Hand Pies – (Eva Isaacson)
There are many recipes online for these. Filling recipes vary, some hand pies are baked and
some are deep-fried, some have frosting drizzles and some do not—but they look really fun to
make! Since I was cooking for a large group, I didn’t make the individual hand pies but simply
made a thin one-crust pie so that everyone could taste them. The goal was to make something
tasty from dried apples, a product I had never tried cooking with before.
- It’s really simple to re-hydrate the apples. Put about 2 c. dried apples in a saucepan and
cover with 2+ cups of water (or if making hand pies, your recipe might call for half that much). Boil 2-3 minutes as directed on the apple can, then set aside to rest for 15 minutes. - Next, pour off any liquid that you don’t want–I kept a little liquid in them so the pie could make its own syrup. After trying four variations of the internet recipes, I went back to using my own basic ingredients for regular apple pie, only in smaller amounts. If using the 2 c. re-hydrated apples, mix them with some sugar, cinnamon, a couple drops of fresh lemon juice (to help it taste fresher) and a pinch of flour (to thicken the juice). We found that we liked the flavor better when we used a little less sugar than we expected to need.
Dehydrated apples have a stronger ‘dried fruit’ flavor than fresh fruit, and that seems to taste stronger the thicker your pie is, so if you are contemplating making a full-sized pie from them, I suggest experimenting the first time with either hand pies or the thinly-layered one-crust pie, so you can judge what your family will like. - Spread the apple mixture in a thin layer in an 8-inch square pan, add a little of the liquid,
cover with a layer of pie crust, tamp edges of crust to sides of pan with fork and cut vents. Sprinkle sparingly with sugar and bake at 375 degrees F for about 25 minutes or until crust is done.
Pie crust recipes are included with the hand pies online, but since I baked mine instead of
frying, I used my favorite pie crust recipe instead (included below).
Favorite Pie Crust – (Eva Isaacson)
Ingredients:
3 cups sifted flour (if you don’t have a sifter, fluff up the flour in the canister before measuring.
This is important!)
1 1/2 cups shortening (I use Crisco)
1 teaspoon salt
4 1/2 TABLESPOONS water
1/2 TABLESPOON apple cider vinegar
1 well-beaten egg
Place flour, shortening and salt in a bowl and work the ingredients together (a pastry cutter
works well for this step) until the clumps are the size of peas. In a separate bowl, mix the
beaten egg, water and vinegar. Combine egg mixture and flour mixture and mix until a smooth
dough forms. You can roll this out immediately, but it is a little easier to work with if you put it
in a plastic Baggie and chill it a little. When using this for the thin one-crust pie in the 8”X8”
dish, roll out part of dough and then trim to shape of pan, leaving about ½ inch extra crust all
around. Invert crust over dish and let it sink down until it covers the apples, then seal crust to
sides of dish by tamping with a fork. Cut vents and sprinkle lightly with sugar. This recipe
makes about 3-4 crusts for regular pies.
Peanut-Butter Chocolate No-Bake Cookies – (Eva Isaacson)
Note: Similar recipe found online at foodnetwork.com
Ingredients:
2 cups sugar
½ cup milk
1 stick butter (8 Tablespoons)
1/4 cup unsweetened cocoa powder
3 cups rolled oats (I use quick-cooking oats)
1 cup smooth peanut butter
1 Tablespoon pure vanilla extract
Line cookie sheet with parchment or waxed paper. (I find it helpful to measure the oats and peanut butter first, and set them aside so they are ready immediately when needed. This helps keep the temperature of the mixture up so it doesn’t start setting up before you get all the cookies made.)
Bring sugar, milk, butter and cocoa powder to boil in medium saucepan over medium heat, stirring occasionally. Boil one minute. Remove from heat. Stir in oats, peanut butter and the 1 Tablespoon of vanilla. Drop by spoonfuls on parchment or waxed paper.
Energy Bites – (Jennifer Ellsworth)
Makes 10-13 Individual Bites
Ingredients:
1 C Peanut Butter
1/3 C Oats
1-1½Tbsp Agave or Honey
1½ tsp Vanilla
½ C Coconut
1 Tbsp Chia seeds
1 Tbsp Flaxseeds
1 Tbsp Almonds
Instruction: Mix Ingredients, form balls, and place on parchment paper lined sheets
Optional: Melt chocolate and drizzle over bites
Refrigerate or freeze to let chocolate set
Food Storage Cookie Dough Balls – (Jennifer Ellsworth)
Ingredients:
1 Cup Oats
½ Cup White beans (navy or cannellini)
4 Tbsp Agave or Honey
½ tsp Vanilla
1 Chia Egg OR 4 Tbsp Peanut Butter
1/8 tsp Salt
3 Tbsp Mini chocolate chips
Optional: Flaxseeds, Almonds, Pepitas, Coconut, Chia seeds
Instruction: If Using Chia Egg: mix 1 Tbsp Chia Seeds + 3 Tbsp water & let sit 5 min
Process Oats in a food processor
Add remaining ingredients and pulse
Form Balls
***Submit more recipes by emailing them to the RS Presidency or Ward Clerk
Emergency Preparedness
–Personal preparedness. As a matter of personal preparedness, the church has invested much time and financial recourses. Each individual’s journey to becoming prepared is personal and unique in timing and speed. As you begin, here is a great link from the church to help give you an idea of where to start. In a time of crisis, we will be our own first responders, it’s up to us.
https://www.churchofjesuschrist.org/study/manual/gospel-topics/emergency-preparedness?lang=eng
–Life Help. Everyone needs help sometimes. Life is like that. In fact, God planned it to be that way. Mortality presents each of us with a wide variety of experiences, and some are easier to manage than others. No matter the experience, there is always help. That’s part of God’s plan too. For details please follow this link.

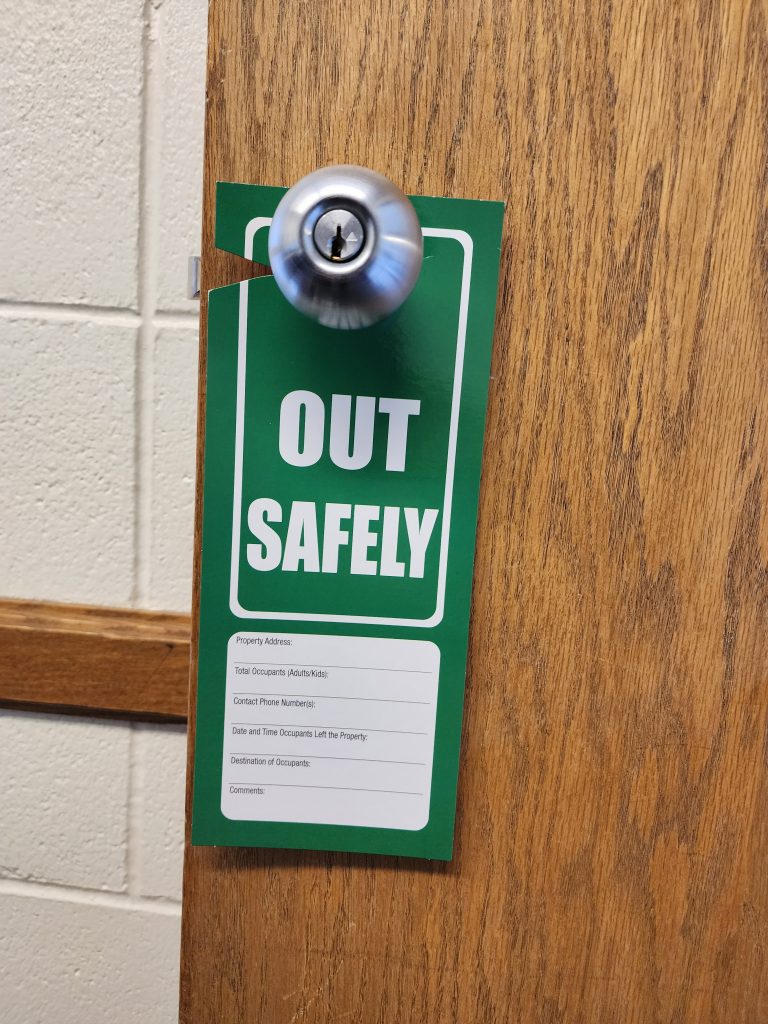
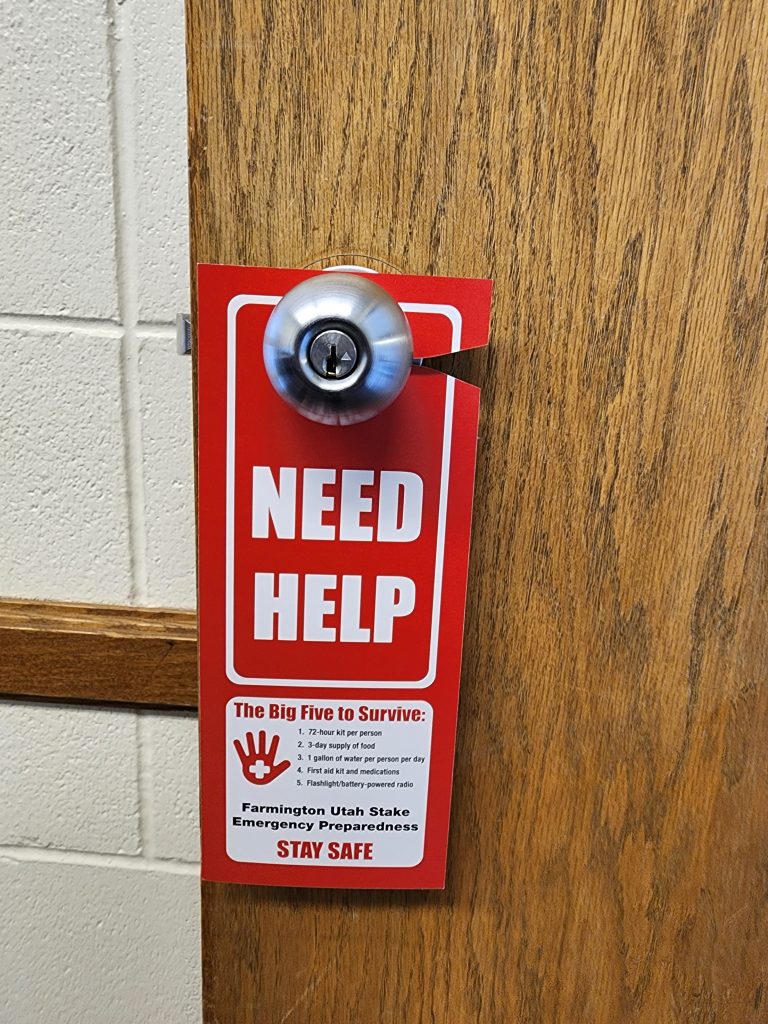
Contact Brother Chad Olson to obtain one Door Sign for your family and those you minister:
–April Quarterly WSR Leadership Orientation: Additional resources provided in that orientation:
- Temporal Preparedness Emergency Guide – Utah Area Temporal Preparedness Guide
- Temporal Preparedness Resources
- FEMA Map, type your address
- FEMA Flood Maps
- USGS.gov – National Water Dashboard
- KSL River Tracker
- Utah Flood Resources: Prepare, Respond, and Recover | USU
- Utah Floodplain and Stormwater Management Assoc. – Home Page (ufsma.org)
- Life Help-Preparedness
- Gospel-Centered Parenting
- Church News article Church’s principle of preparedness helps family find peace – Church News (thechurchnews.com)